-
Create a repository
Head over to GitHub and create a new repository named username.github.io, where username is your username (or organization name) on GitHub.
If the first part of the repository doesn’t exactly match your username, it won’t work, so make sure to get it right.
-
What git client are you using?
-
Download GitHub for Windows
GitHub for Windows is a great way to use git and GitHub on Windows.
Download GitHub for Windows
-
Download GitHub for Mac
GitHub for Mac is a great way to use git and GitHub on Mac.
Download GitHub for Mac
-
Clone the repository
Go to the folder where you want to store your project, and clone the new repository:
~$git clone https://github.com/username/username.github.io
-
Clone the repository
Click the green "Set up in Desktop" button. When the GitHub desktop app opens, save the project.
If the app doesn't open, launch it and clone the repository from the app.
-
Clone the repository
After finishing the installation, head back to GitHub.com and refresh the page. Click the green "Set up in Desktop" button. When the GitHub desktop app opens, save the project.
If the app doesn't open, launch it and clone the repository from the app.
-
Hello World
Enter the project folder and add an index.html file:
~$cd username.github.io
~$echo "Hello World" > index.html
-
Create an index file
Grab your favorite text editor and add an index.html file to your project:
<!DOCTYPE html>
<html>
<body>
<h1>Hello World</h1>
<p>I'm hosted with GitHub Pages.</p>
</body>
</html>
-
Push it
Add, commit, and push your changes:
~$git add --all
~$git commit -m "Initial commit"
~$git push
-
Commit & sync
Enter the repository, commit your changes, and press the sync button.
-
Commit & sync
Enter the repository, commit your changes, and press the sync button.
-
…and you're done!
Fire up a browser and go to http://username.github.io. Give it a couple of minutes for your page to show up—there will be a delay this very first time. In the future, changes will show up pretty much instantly.
-
Generate a site, or start from scratch?
For Project sites, you have the option to generate a site with one of the amazing pre-built themes, or to create a site from scratch.
-
Repository Settings
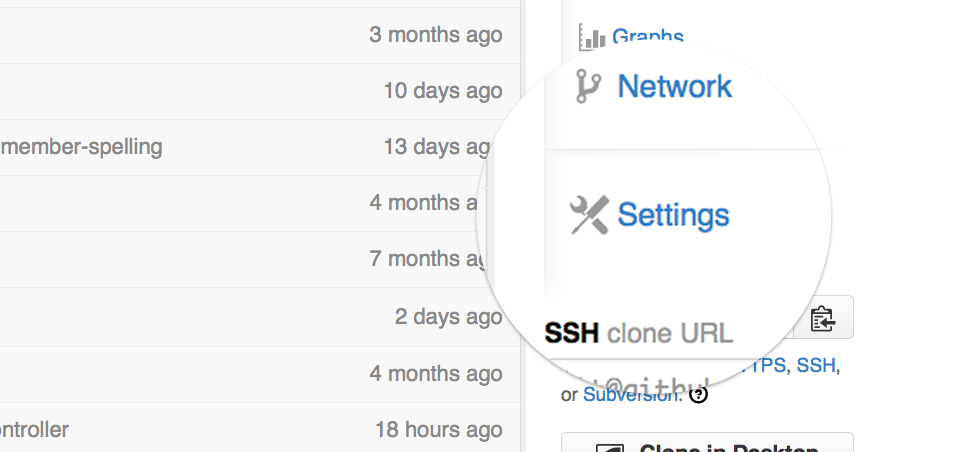
Head over to GitHub.com and create a new repository, or go to an existing one. On the right hand side, click on Settings.
For Project pages, the gh-pages
branch is used to publish your site. That means that you can work with GitHub Pages in the same repository as the project that it's for, without affecting the project itself.
-
Automatic Generator
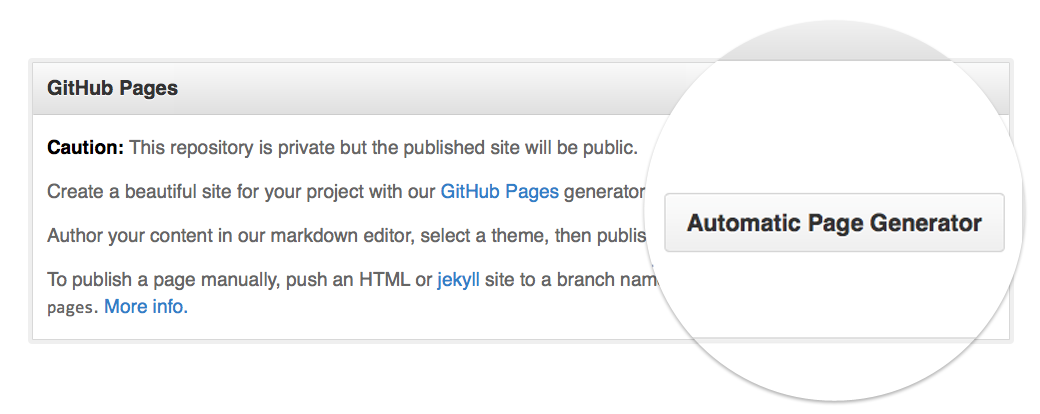
Scroll down to the GitHub Pages module. Press the Automatic Page Generator button.
-
Add content
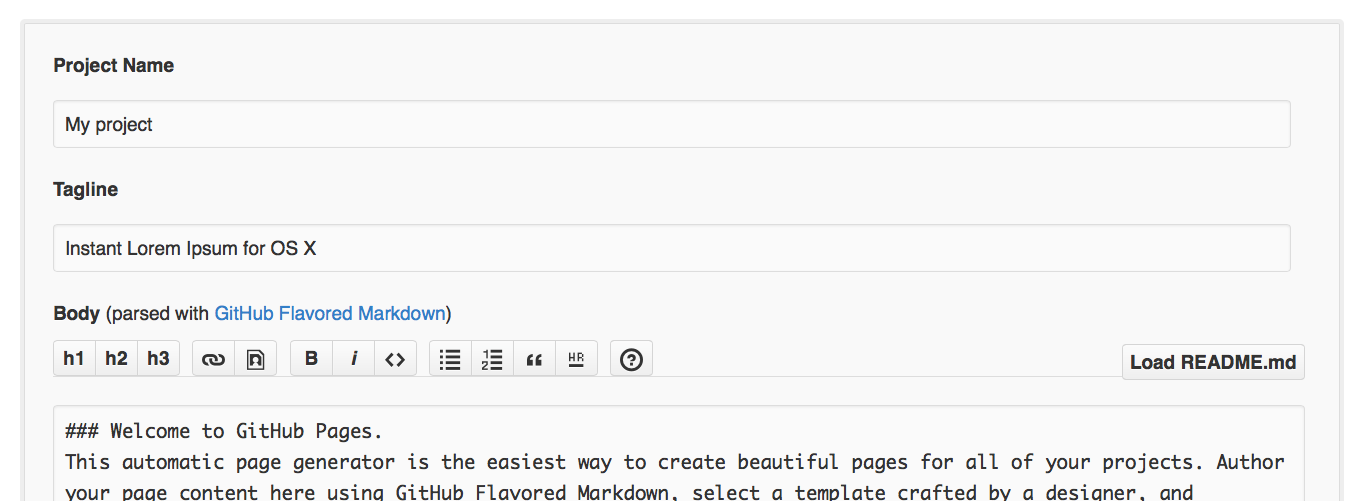
Use the editor to add content to your site. If you already have a README.md
in your project, you can import that on the right hand side.
When you're done, click Continue to Layouts.
-
Pick a theme
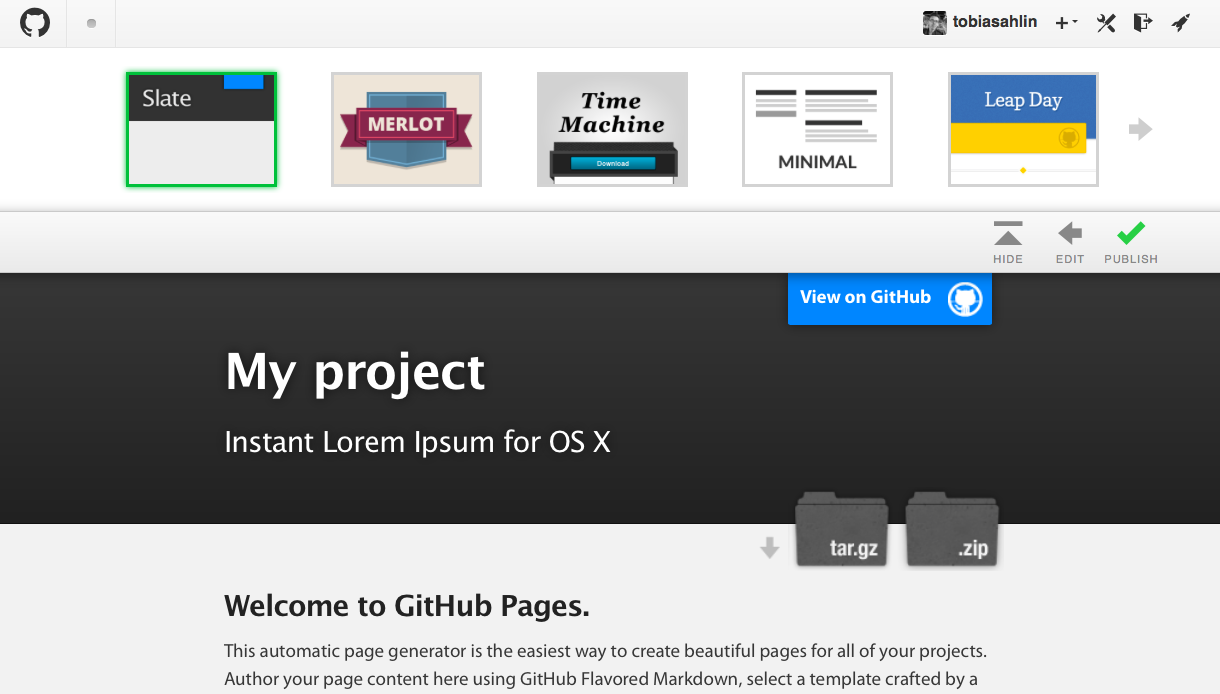
Choose between the themes in the carouselle at the top. When you're done, click the Publish button on the right hand side.
-
Create a gh-pages branch
Head over to GitHub.com and create a new repository, or go to an existing one. In the repository overview, click the branch drop-down on the left-hand side. Type in gh-pages
and press enter.
For Project pages, the gh-pages
branch is used to publish your site. That means that you can work with GitHub Pages in the same repository as the project that it's for.
-
Optional: Make gh-pages the default branch
If you created a new branch for GitHub Pages, enter the repository settings on the right hand side. In the top module, change the default branch to the newly created gh-pages
branch.
-
Create an index file
Go back to the repository overview, and use the plus icon next to the repository name to create a new file.
-
Hello World
Name the file index.html
and type in Hello World
for the content.
-
Commit the file
Scroll to the bottom of the page, write a commit message, and commit the new file.
-
…and you're done!
Fire up a browser and go to http://username.github.io/repository. Give it a couple of minutes for your page to show up—there will be a delay this very first time. In the future, changes will show up pretty much instantly.